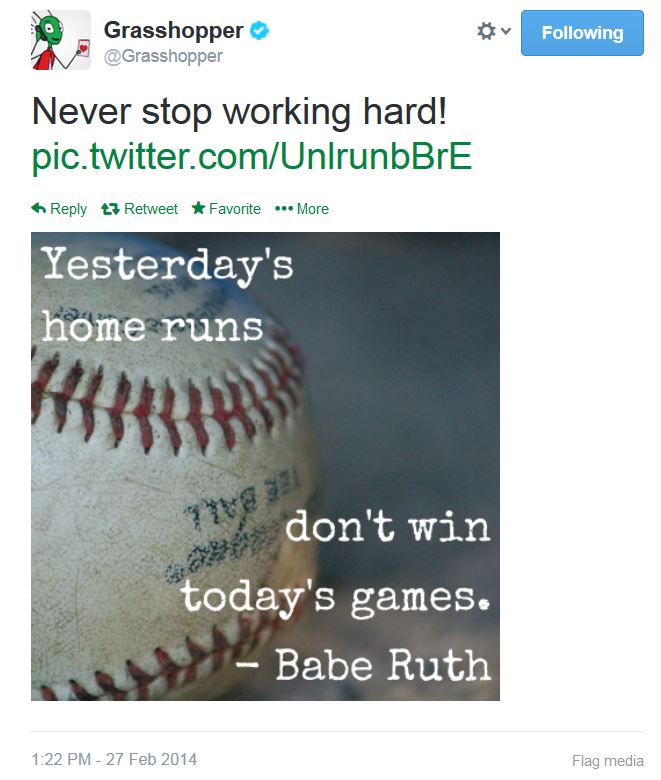
If you’ve spent any time on social media, you’ve probably noticed a lot of brands filling up your feeds with images.
You've seen quotes, fun pictures, questions, coupons--pretty much anything you can think of is made into an image. And, believe it or not, there’s a really good reason for it.
According to recent studies photos on a brand’s Facebook page get 53% more likes, 104% more comments and 84% more click-throughs on links than just plain text posts. As for Twitter, photos get 18% more clicks, 89% more favorites and 150% more retweets. That’s a lot of action!
So what do you do if you’re a one person team and don’t have a dedicated designer, and don’t have the budget to pay a freelancer? Well, I’m here to tell you that you can make beautiful images in about 20 minutes – for FREE. How is this possible, you ask? Read on!
This process won’t always take you 20 minutes – it can take way less time! I just usually average 20 minutes because I spend a lot of time looking for an image and fussing with the fonts and colors.
Meet Canva
Canva is a web-based image editor that allows you to create all sorts of great images using photos, fonts, stickers, shapes – the list goes on and on! They’re in beta right now, but you can sign up for an account and get your invitation within a day or two, and you’ll be ready to start designing.
Canva is my go-to for image creation because it’s simple and quick, and time is definitely very valuable (especially for an entrepreneur like you!).
So, without further ado, let’s go through the steps to create an amazing image for social media posts, blog posts, or whatever else you need!
Step 1: Sign up for Canva
I mentioned this already, but if you head over to Canva.com you have the option to join with Facebook, or create a username and password with your email. I created an account with my email address.
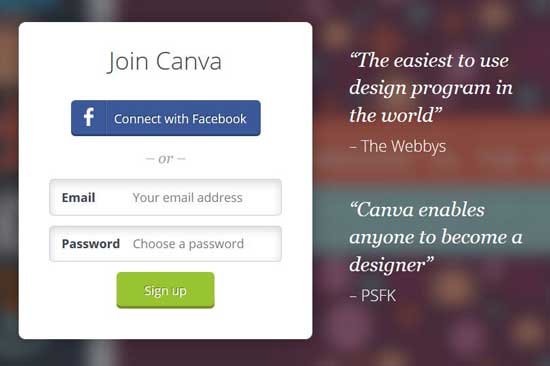
When you receive the email to activate your account, go ahead and do that. Then the fun begins!
Step 2: Get Prepared
First you need to ask yourself the question: What do you want to design? I mostly design quotes, so we’ll use one for this example. This step will probably take you the longest, just FYI.
-
Choose a quote for your image. I’ll use “Yesterday’s home runs don’t win today’s games,” spoken by Babe Ruth.
-
Choose a background image. I like to use Creative Commons to search Google Images. (Getting a photo from Creative Commons ensures that you won't get into trouble for taking someone's copyrighted photo--extremely important!)

Once you have your image and quote chosen, you’re ready to move on to step 3!
Step 3: Choose Your Image Size
Once you’re logged in to Canva, at the top of the screen you’ll have the option to choose your image size based on what you’ll be using it for. However, I like to choose my own image size.
In the right upperhand corner, you’ll see a link that says “Use Custom Dimensions.” This will open up a box where you can input the dimensions in pixel size. I use 403 x 403 px, which is the size of a photo preview on your Facebook timeline, and also works great for Twitter, G+ and Pinterest. You can use this handy guide from All Twitter to get the pixel size of every place you could ever want to post a photo in social, in case you decide to get really fancy and make some Facebook cover photos!
Once you’ve inputted your pixel size, click the “Design!” button.
Step 4: Upload Your Image
The next page you’ll see is your blank canvas. We’re going to be using the current layout, so our next step is to upload our background image. Click on “Uploads” on the left hand menu, and click “Upload your own images”.
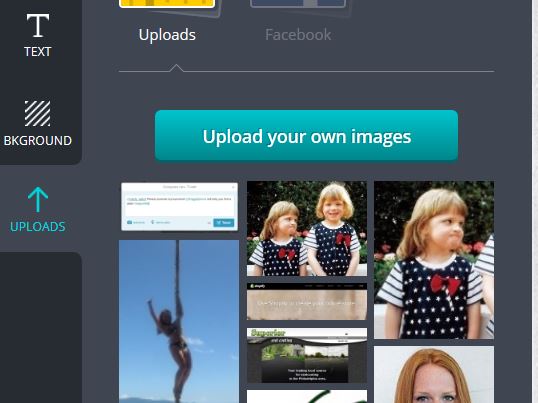
After your image is uploaded, you’ll see it appear on the left hand menu.
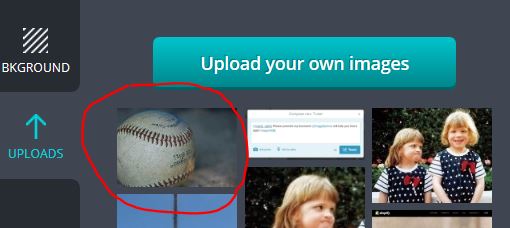
Step 5: Resize and Position Your Image
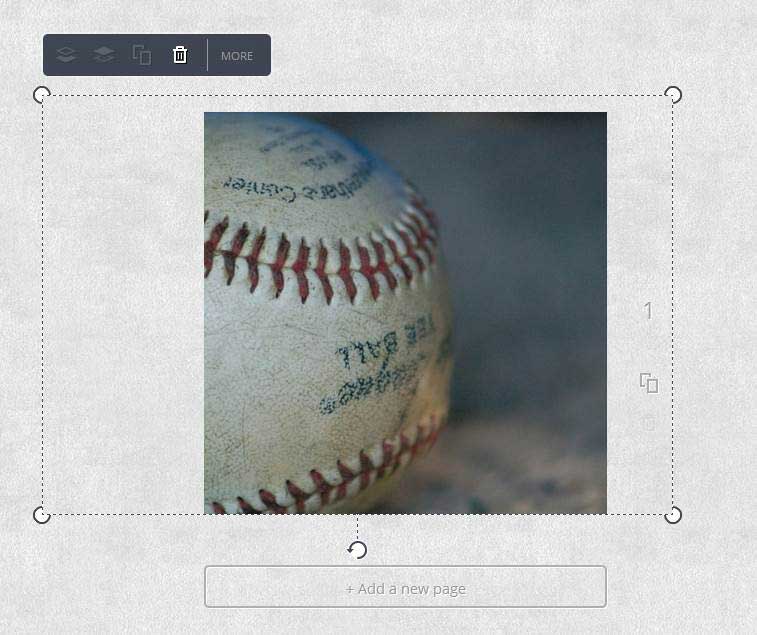
Next, drag the background image into the canvas. You can adjust the size by dragging the corners in and out, and reposition the image by dragging it to where you’d like it to be on the canvas.
Step 6: Choose a Font and Font Color
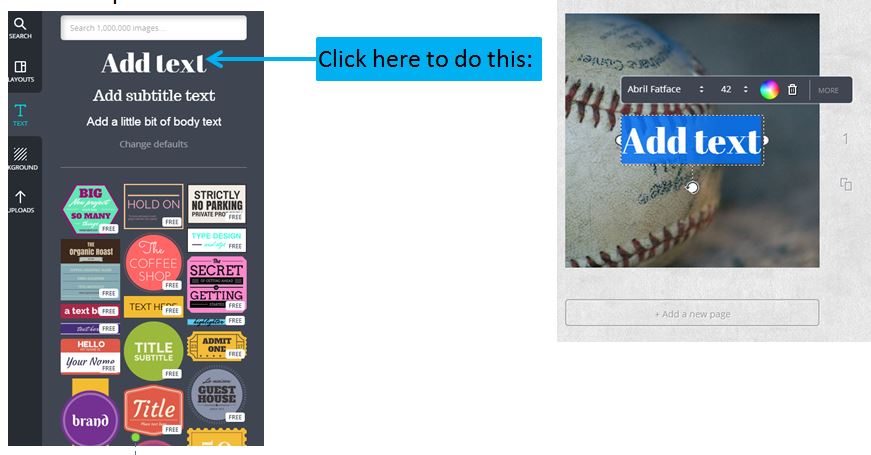
Click on “Text” on the left hand menu. You’ll see three choices for text type, as well as a bunch of free sticker-style images that you can use for text as well. In this example we’re just going to superimpose our chosen font over the images, so we don’t have to pay attention to those.
Click the top “Add Text” line, and a text box with an options menu bar will pop up on your image. You can have as many text boxes as you’d like, move them around the image, and change the font and color of each of them – or even each line – independently. (It works just like a word doc.) Click the “More” button on the options menu bar for options to change the font style and justification.
At this point, it’s personal preference to get the font and color looking the way you envisioned it.
Step 7: Save Your Design for the Web
When your design is perfect, you want to save it so you can share it to all your social networks. At the top of the page, click “Link and Publish”. A box will pop up asking how you’d like to save it; choose “Image” (this will give the image the highest quality for social networks).
Your image will then download, and you’re ready to share away!
Here's my image in the wild:
Your Turn: Do you have any tips and tricks for creating images super quickly and easily?

